
Thanks to Covid lockdowns loads of you are missing out on newborn photos from a professional photographer. But if you want to take your own newborn photos, I’ve got you covered with these 7 tips designed specifically for Mummas (or Dads!) to DIY your own shoot to capture all that newborn goodness.
1. Get inspired.
If you’re not sure where to start, or just need some inspiration try instagram or pinterest and save some examples that resonate with you. Is there a common look or theme that runs through these images? Are they natural ‘lifestyle’ images with baby s natural movements or more posed images? Once you’ve clear on this it will inform some of your next decisions. How and what to dress your baby and or other family members in and where in the house you might do the shoot. For inspo, you can start by checking out my pinterest board!
2. Pre-shoot Prep
A little bit of prep will help your shoot run smoothly! A baby with a full tummy will generally sleep better so feed your baby around 20 minutes before you plan to do the shoot. Heat up the house, or the rooms you’ll be using to around 27 degrees. This may feel super hot but remember that our babies have just come from inside our bodies which is around 37.8 degrees and you want to replicate the womb to help the baby drift into that deep sleep. I also recommend putting on some relaxing music or some white noise if this helps your baby to sleep!
The other thing to prep is your home. Once you’ve figured out where in the house you’d like to do the shoot, then clear any clutter or distracting objects that might be nearby or in the background that would take away from the image.
3. Light
This is the most important thing to consider for your photos. You don’t need fancy lights to take newborn photos, natural light is free, abundant and easy to use!
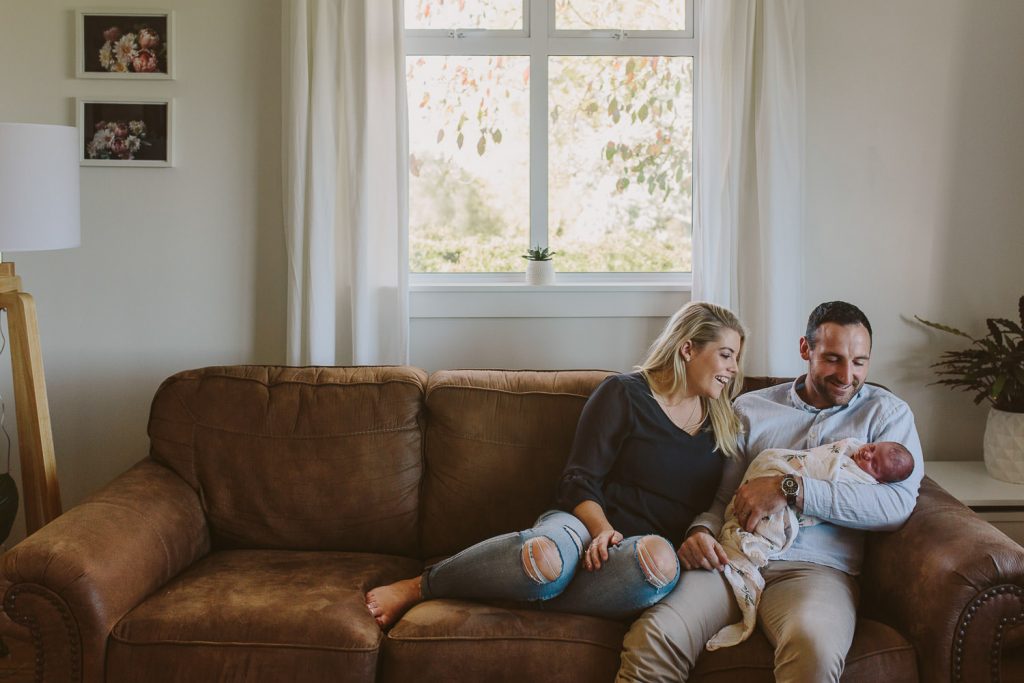
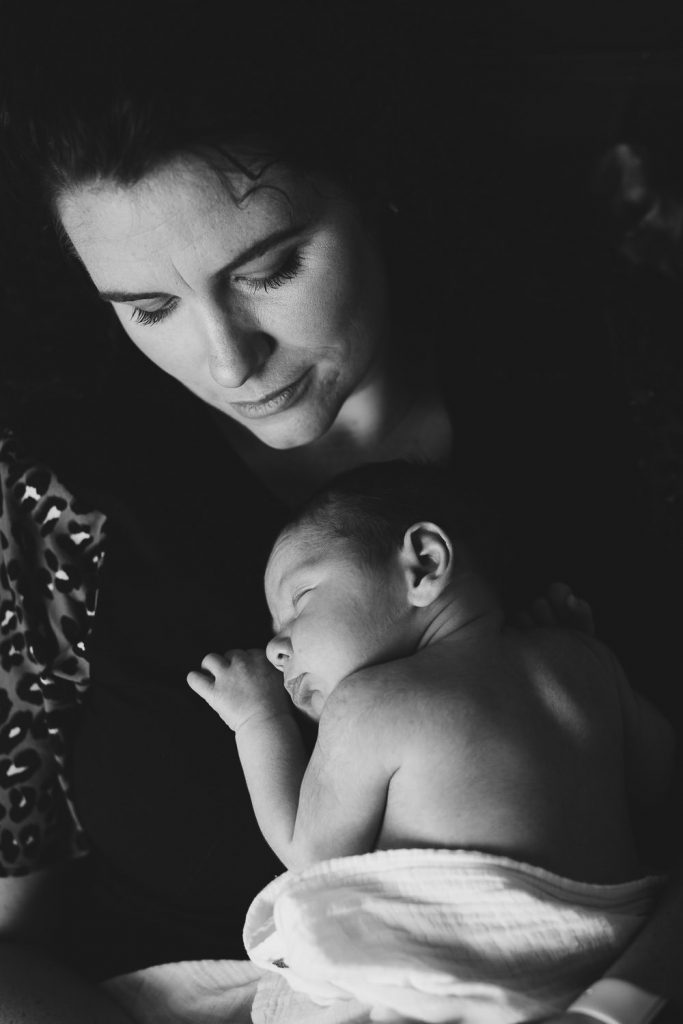
Look for a good amount of soft natural light, which you can find near windows and doorways. I will often move couches or chairs into the right position within a room so that my clients & baby are being lit from the front or from the side. Positioning the baby, and or anyone else in the photo to look towards the light source rather than away from it is always going to be more flattering (looking into shadow will make the face dark).
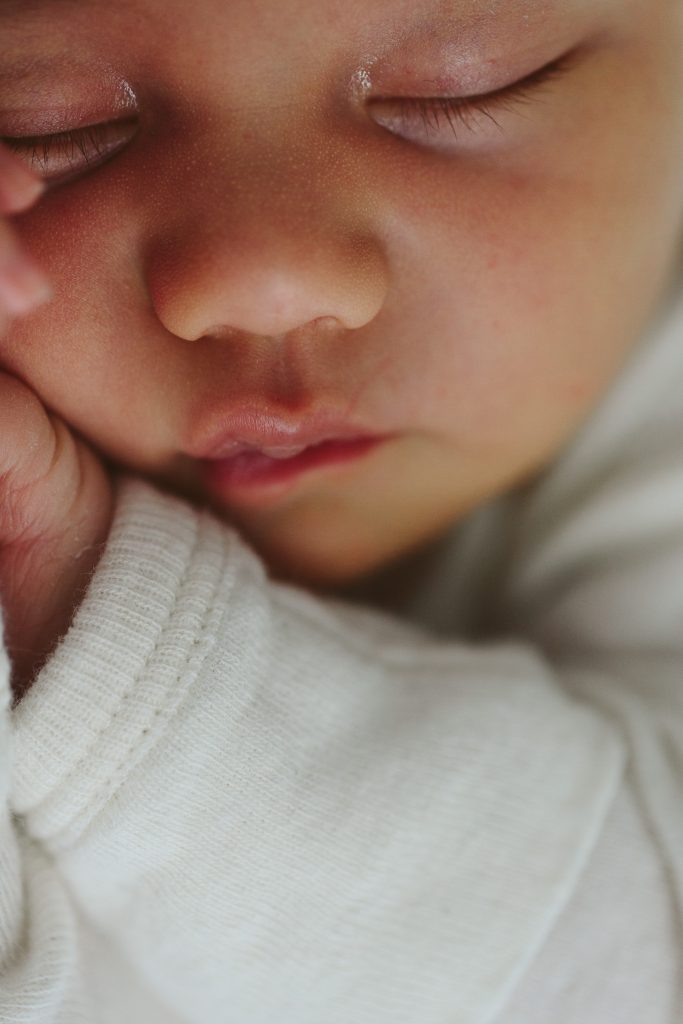
For experts: I encourage you to experiment with the position and distance, whilst keeping your eye on the way light and shadow falls on baby’s face and ask yourself these questions:
Is it soft and gentle? Soft light is when the lightest part in your image softly fades into the darkest part and is usually the easiest and most flattering light to work with. Does it highlight the baby’s eyes, forehead, nose and cheeks? Or is it coming up from the other end, illuminating up the nose? (try to avoid this). If you see catchlights in the eyes (little dots of light) chances are you’ve nailed it in terms of position.
4. Props
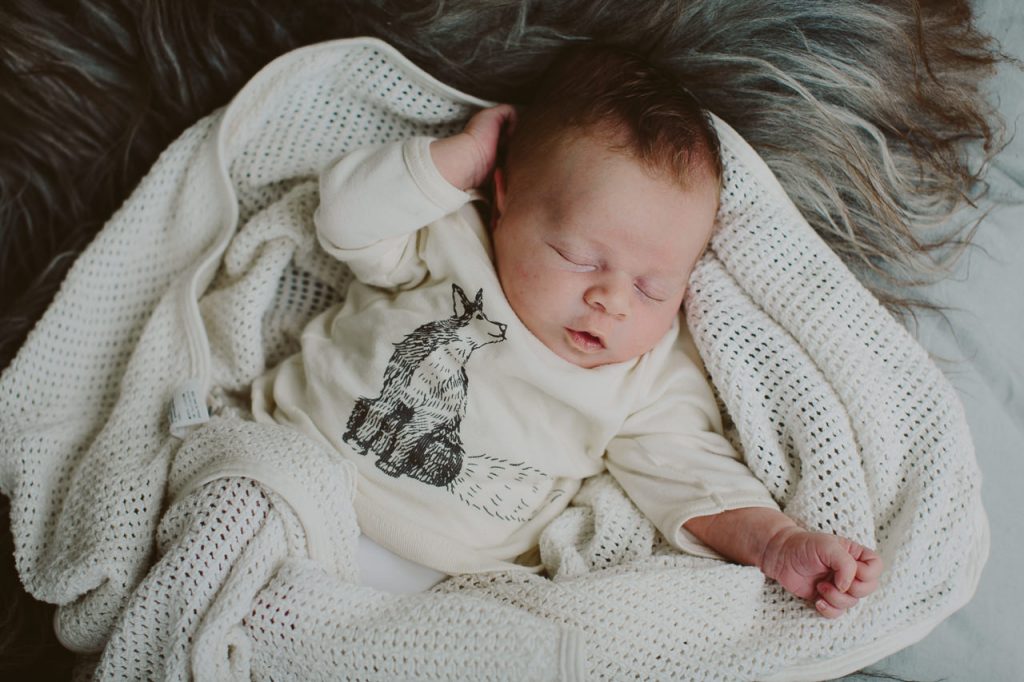
You don’t need loads of props for a newborn photo! I’ll often use just a white sheet and some light coloured wraps, or fabrics with a lovely colour or texture such as fur or sheepskin. Patterned or coloured wraps can also be lovely (although I recommend not overdoing it with the pattern!). These can be layered over top of each other or over a duvet or other fabrics. A bean bag, moses basket or bassinet that can be moved around can also be helpful. A nappy cover is a great addition to any shots where you want to whip babies clothing off but don’t want to go full nakey.
5. What to Capture – your shot list
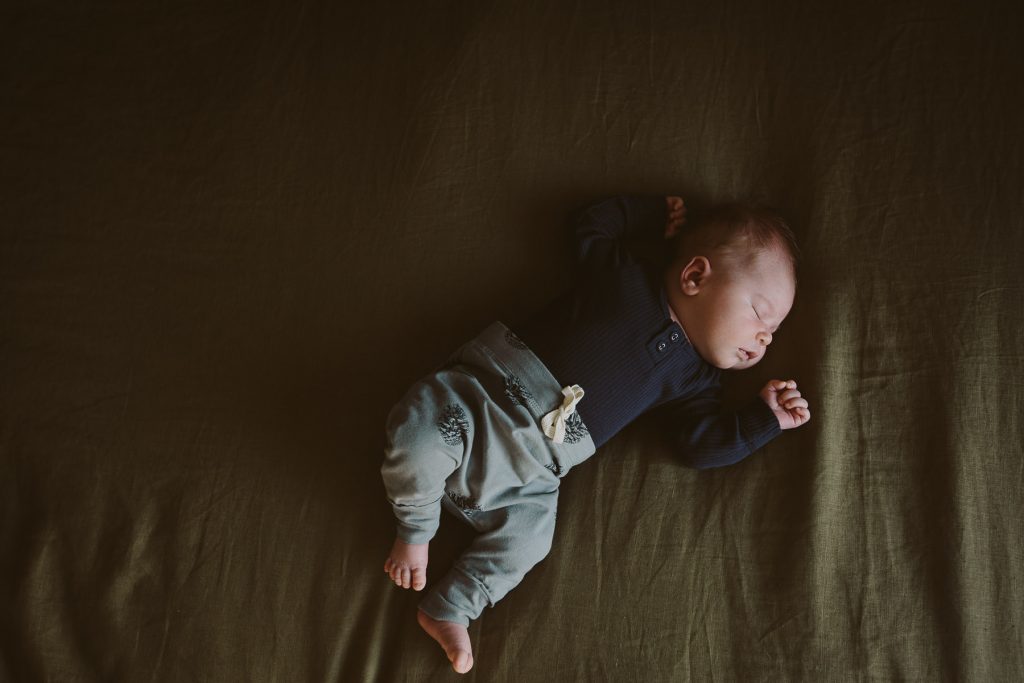
You can get variety from your newborn photos by taking lots of shots of the same set up. I suggest starting with your baby wrapped on their back, then going through the shot list. Then unwrapping the baby and going through the shot list again. You can go through the shot list again and again using different poses, baby on side, baby on tummy etc. Shoot from multiple angles and perspectives for a variety of newborn photos without even needing to move your baby. Sometimes, baby is happier on a parent and this makes for beautiful images as well!
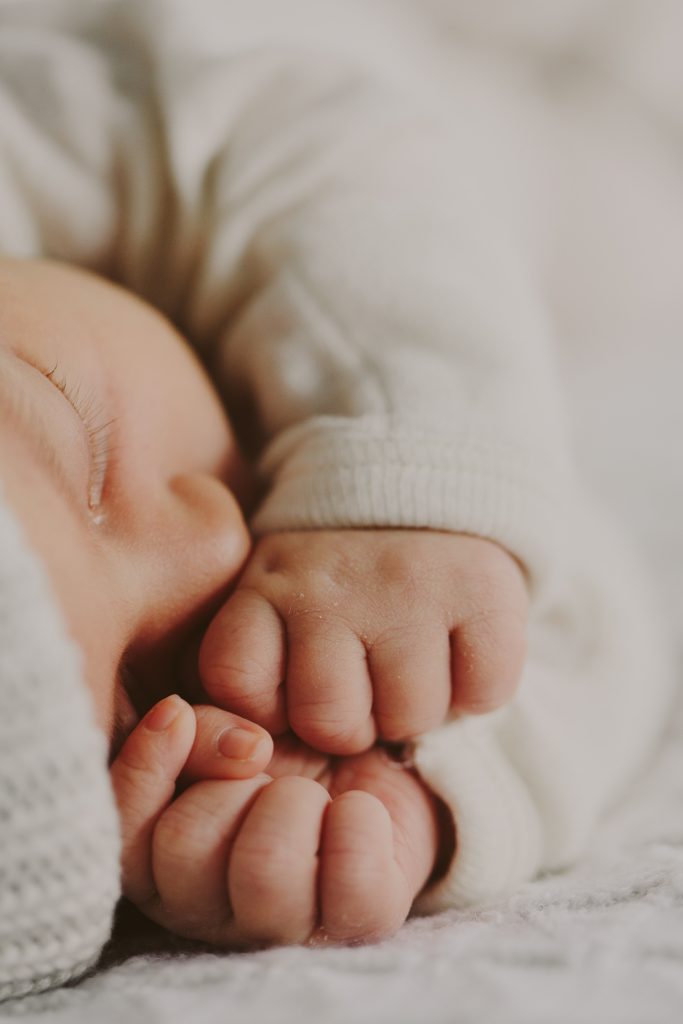
- Get in close and shoot the details
- Step back and take full body shots
- Get down low and shoot side on
- Stand up and shoot directly down
- Compose from baby’s head down,
- Compose from the feet up
- Step back for a wide shot
NOTE: Be careful not to crop off little limbs at the knees, or elbows!
6. Siblings
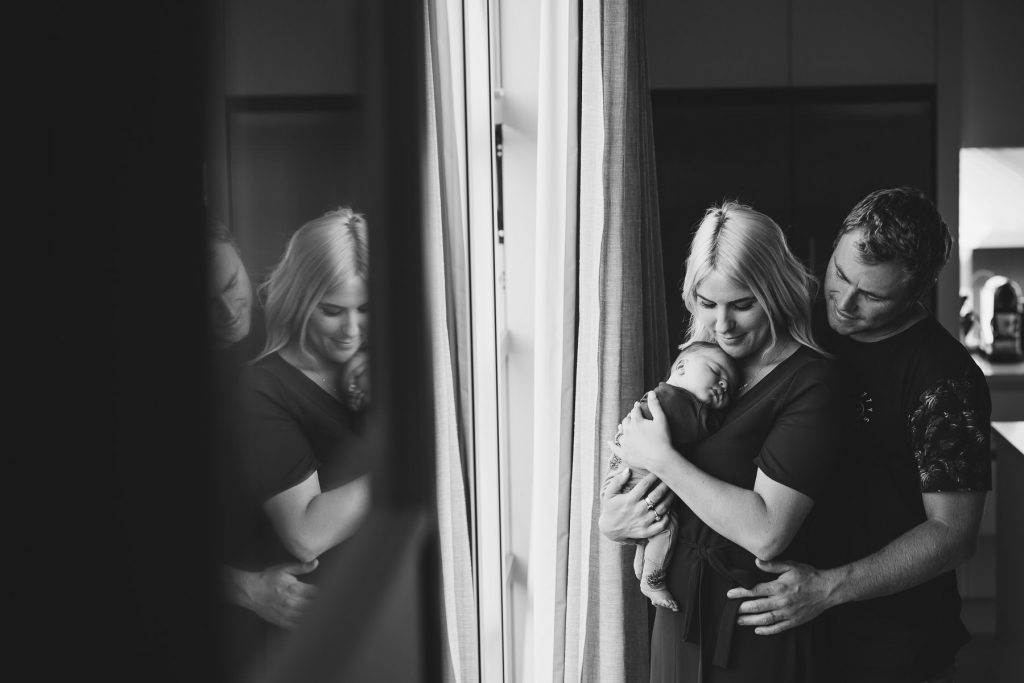
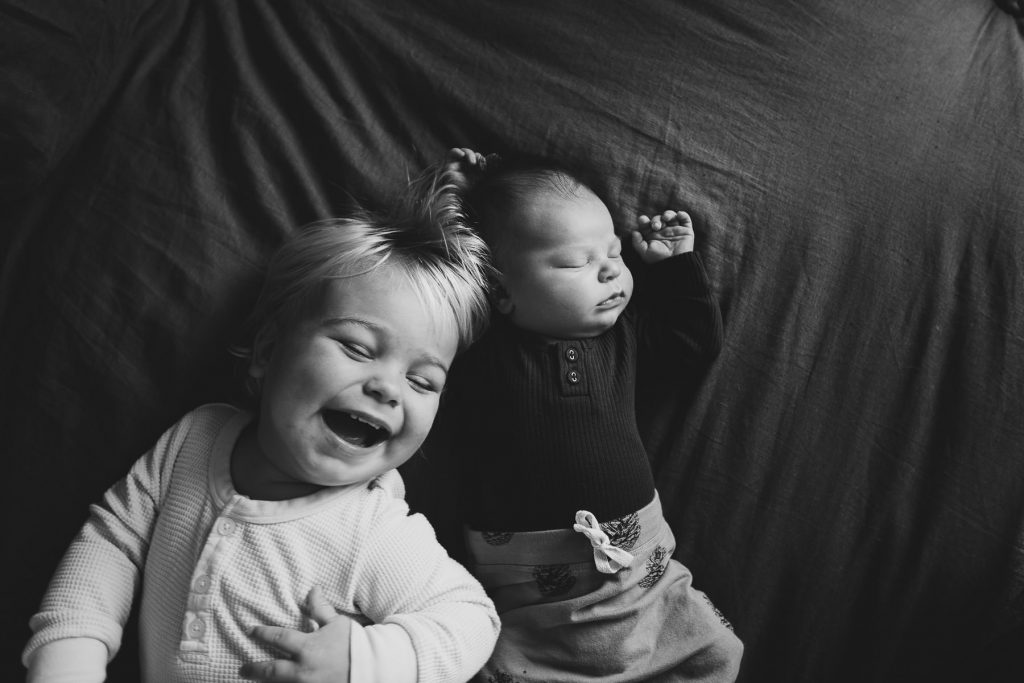
If you want to include older children in your photos, the best piece of advice I can give (especially when the older sibling is a toddler) is to get your location ready, get the baby ready, then bring in siblings. In the past I’ve had an adult read a book to siblings from above while I photograph from above while they look up, or have someone tickle the sibling/s to get those beautiful smiles!
For these images choose a comfortable location near good light. For example, the family bed is a great place to pose them as it’s big enough to place them in the middle of the bed and keep the baby safe at the same time. If you don’t have good light in the family bedroom, positioning the baby on a bean bag or bassinet for their photos means you can move the baby to wherever the good light is! You can then bring siblings around the outside.
7. Get you in the shot
Lastly, if you want to get in the shot, check if insta hubby is available, a friend or other family member who is in your bubble, or even a little person. If all else fails, grab a chair or tripod to prop up your camera or iphone. The self timer will be your friend here. I suggest popping the camera on selfie mode so that you can see what you’re doing and frame the shot. If possible try to photograph from a higher angle as this can be more flattering.
I hope this helps give some ideas and confidence for your DIY photoshoot! I’d love to see what you do so feel free to tag me @ruthgilmourphotographer. You’ve got this!
